
Academy › Website Builder › Lesson 4
~3.5 minIntermediateCustom blocks: drag, drop, reorder
The WordPress-style block editor: 12 block types, click-to-edit, and true drag-and-drop reordering with the grip handle.
Step by step
Follow along
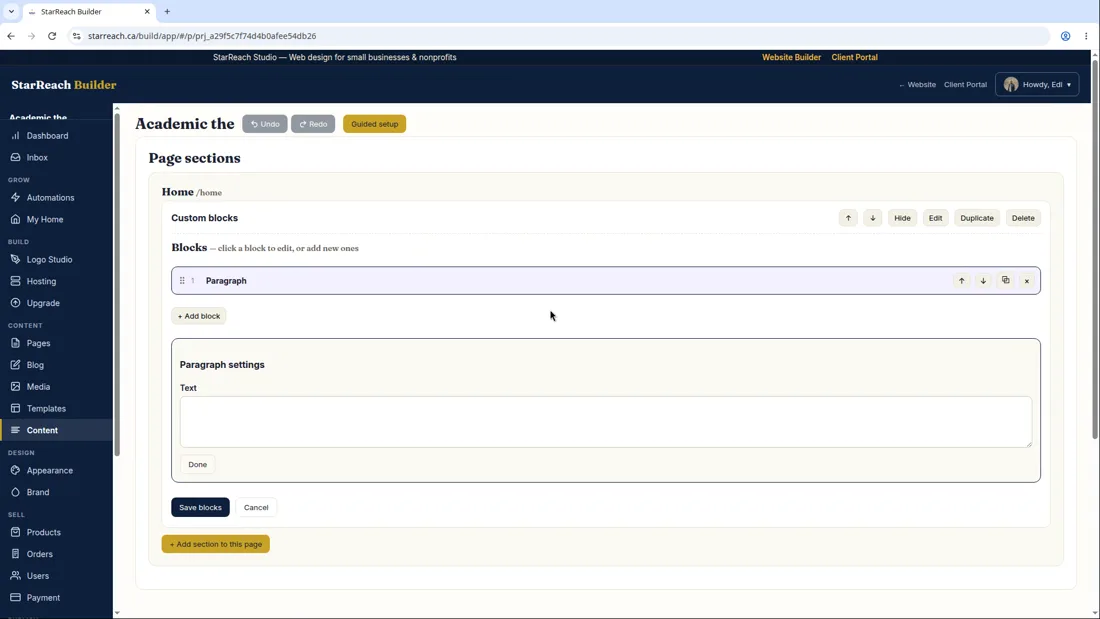
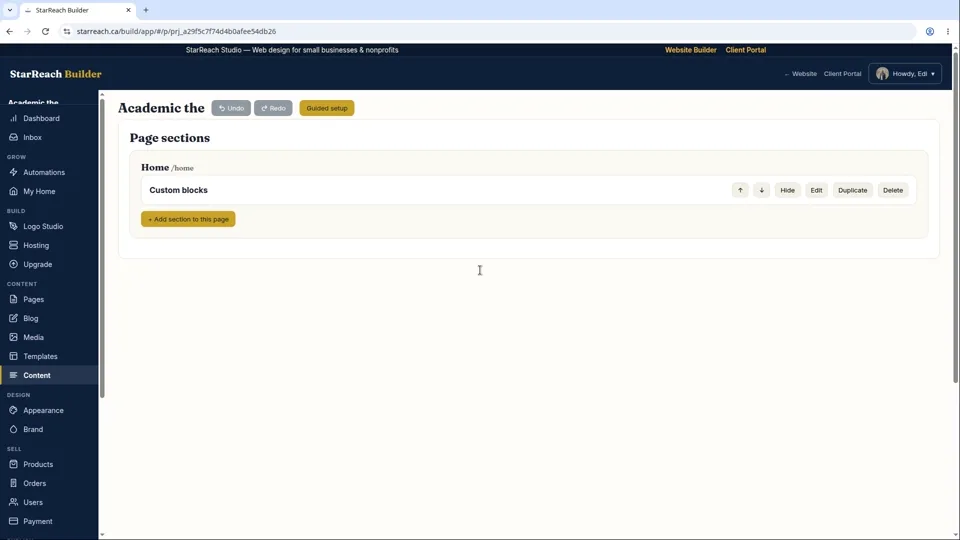
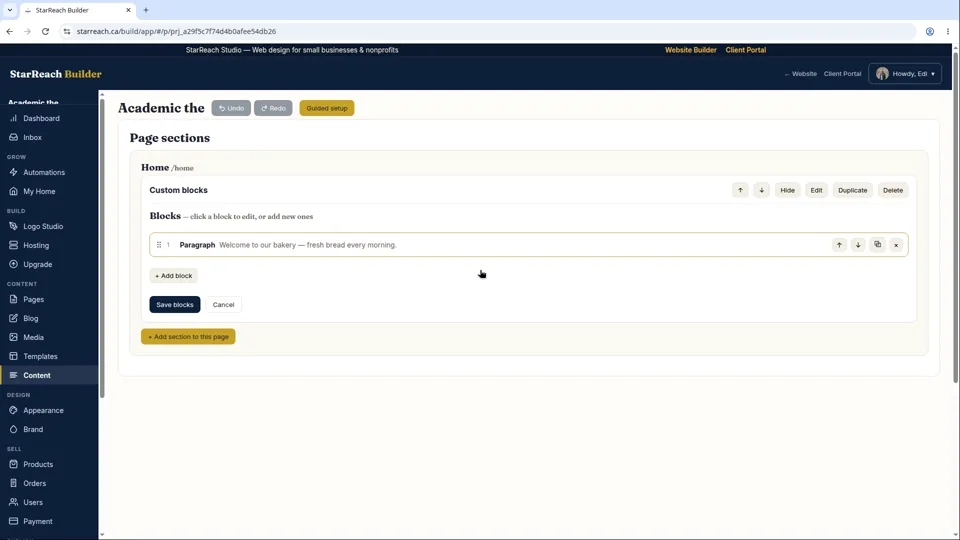
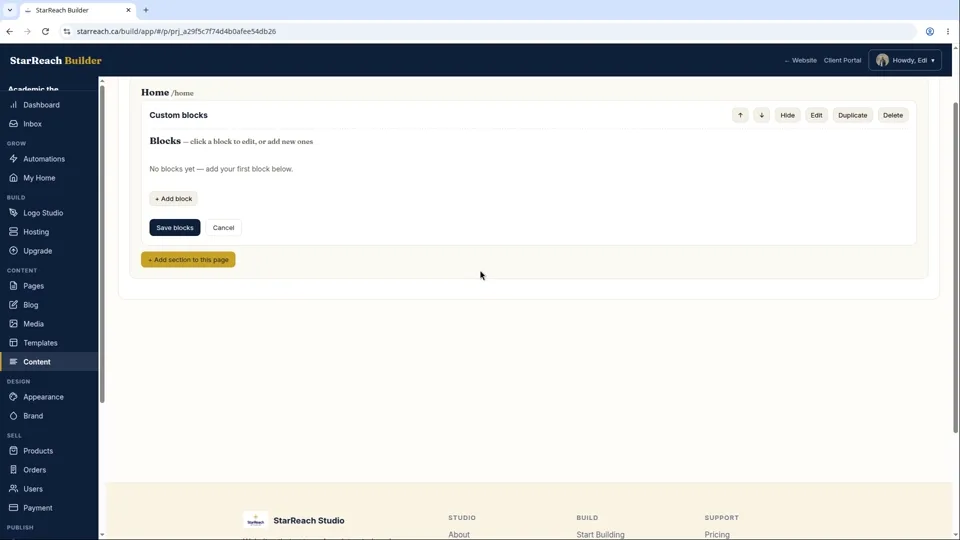
- Add a Custom blocks section to your page — this is the free-form canvas where blocks live.
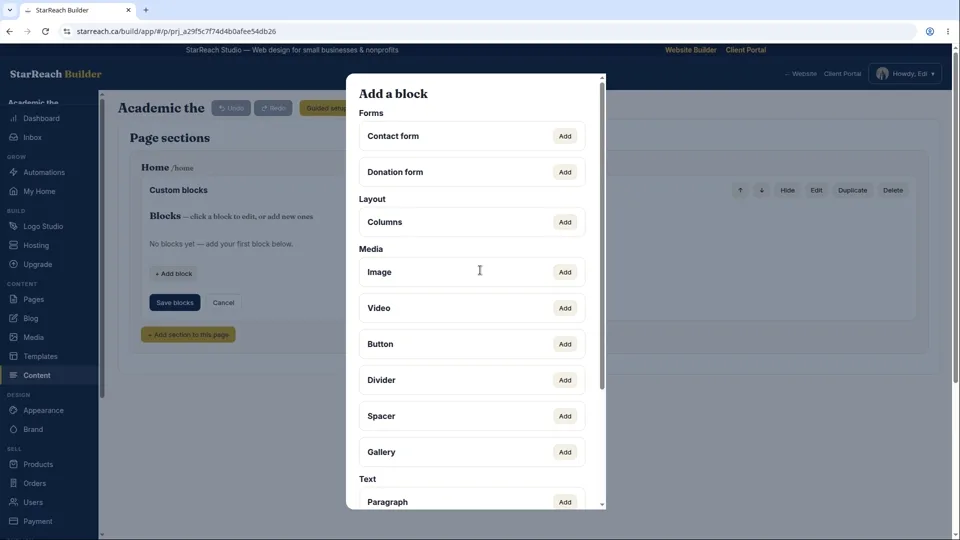
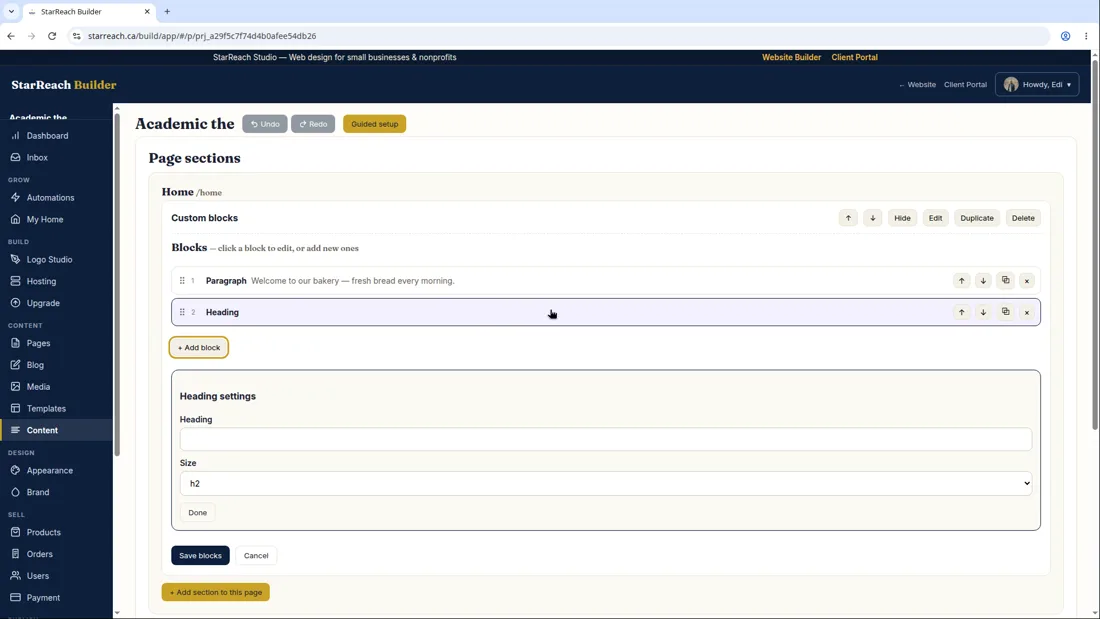
- Click + Add block here to open the block picker. There are 12 block types in 4 categories: Text: Paragraph, Heading, List, Quote — Media: Image, Video, Button, Divider, Spacer — Layout: Columns (which can nest blocks inside them) — Forms: Contact form, Donation form.
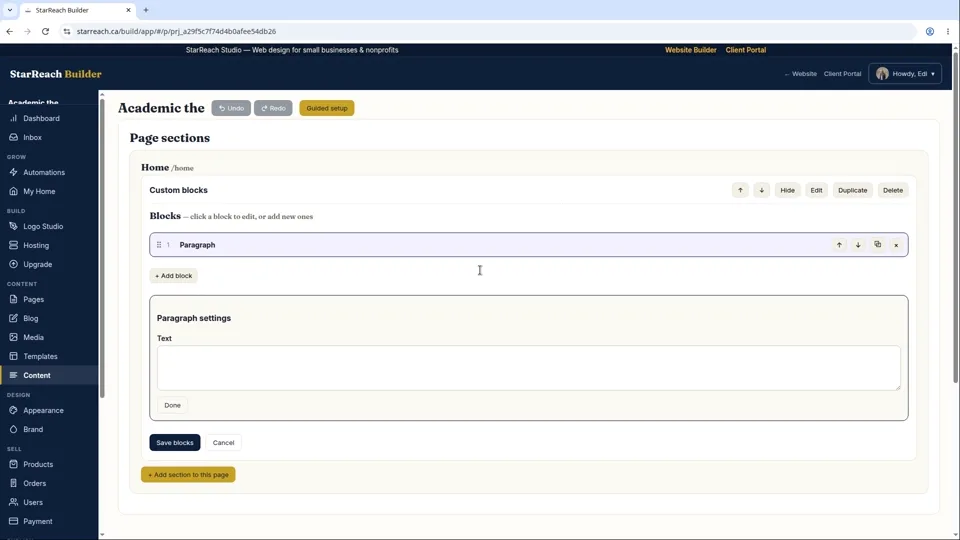
- Click any block to edit it directly. Text blocks save automatically when you click away.
- Hover over a block to reveal its toolbar: settings, duplicate, and delete.
- To reorder, grab the ⠿ grip handle on any block row and drag it. A navy line appears above or below the target row showing exactly where the block will land. Drop it cleanly over the target.
- Prefer precision? Use the up and down arrows on any row to nudge it one position at a time.
- Click Save blocks. Your order and edits are stored — reopen the section later and everything is exactly where you left it. You'll see a “Blocks saved” confirmation.
- Good to know: a contact block posts straight to your site's real contact inbox once published. A donation block offers preset amounts that connect to secure checkout.
In writing
The lesson in writing
Sections are the fast path; custom blocks are the free-form one. A Custom blocks section is a canvas inside your page where you arrange individual blocks in any order you like. There are twelve block types in four families. Text: Paragraph, Heading, List, Quote. Media: Image, Video, Button, Divider, Spacer. Layout: Columns — which can hold other blocks nested inside them. Forms: a Contact form and a Donation form. Between sections for the standard jobs and blocks for everything else, there is very little a small-business page needs that you cannot assemble.
Editing works the way you would hope. Click + Add block here to open the picker, choose a block, then click the block itself to edit it directly — text blocks save automatically when you click away. Hovering over a block reveals its toolbar: settings, duplicate, and delete, right where your cursor already is. Duplicating is the quiet time-saver here: build one well-made block — a price line, a testimonial, a call to action — then duplicate it and change the words instead of starting from a blank block each time.
Reordering gives you two tools, and they suit different moments. For a confident move, grab the grip handle (the six dots on a block row) and drag: a navy line appears above or below the row you are hovering, showing exactly where the block will land — aim for the middle of the target row, not the edge, and the drop lands cleanly every time. For a careful move, use the row's up and down arrows and nudge one position at a time. Either way, finish with Save blocks: you will see a “Blocks saved” confirmation, your order and edits are stored, and when you reopen the section everything is exactly where you left it.
Two blocks are more than layout. The contact form block posts straight to your site's real contact inbox once published — visitor messages land with you, not in a forgotten corner of the Builder. The donation form block offers preset amounts connected to secure checkout, with the amounts verified on our servers so nobody can tamper with them. Treat those two as working parts of your business, not decorations.
Before you move on
- Add a Custom blocks section and build a three-block stack: a heading, a paragraph, and a button.
- Drag the bottom block to the top using the grip handle and the navy guide line, then nudge it back with the arrows.
- Click Save blocks, leave the section, reopen it, and confirm everything is where you left it.
Read the full video transcript
Ready for the fun part? Custom blocks are where the Builder starts to feel like play.
Add a Custom Blocks section to your page. Think of it as a blank canvas — a free-form area where you arrange individual pieces however you like.
Click “Add block here” and meet the twelve block types. They're grouped in four categories. Text gives you paragraphs, headings, lists, and quotes. Media gives you images, video, buttons, dividers, and spacers. Layout gives you columns — and yes, you can nest blocks inside columns. And Forms gives you two power tools: a contact form and a donation form.
Editing is click-and-type. Click a paragraph, type your words, click away. Saved. Hover any block and a little toolbar appears — settings, duplicate, delete. Everything's right where your cursor already is.
Now, reordering. See that little grip handle — the six dots — on each row? Grab it and drag. As you move, a navy line appears above or below the row you're hovering, showing you exactly where your block will land. Drop it there. It clicks into place like it was always meant to be there.
Tip from experience: aim for the middle of the target row when you drop, not the very edge. Clean drops, every time.
Not a drag-and-drop person? Every row also has up and down arrows. Nudge things one step at a time. Same result, zero dragging.
When you're happy, hit Save Blocks. You'll get a confirmation, and your layout is stored. Close the section, reopen it tomorrow — everything's exactly where you left it.
Two blocks deserve a special mention. The contact form block connects to your site's real contact inbox once you publish — messages from visitors land with you. And the donation block lets you offer preset amounts through secure checkout, with the amounts verified on our servers so nobody can tamper with them.
Twelve blocks. Infinite combinations. Go build something.
Try it now
Open the product and put this lesson into practice — it takes seconds.