
Academy › Website Builder › Lesson 5
~3 minBeginnerPublishing your site
From finished draft to live website: preview, publish, the automatic health check, and your live URL.
Step by step
Follow along
- Finish your edits, then click Preview. Review every page — and switch to the phone preview. Most visitors arrive on mobile, so this step matters most.
- Fix anything that looks off. Remember: you're still on your draft, so take your time.
- Click Publish. We freeze your current draft as a release — a snapshot of this exact moment.
- We run an automatic health check on the release: every page must load, every link must work.
- If anything fails the check, we roll back automatically to your previous published version. Your visitors never see a broken site.
- Success? Your site is live. During your trial it lives at a temporary starreach.ca address; with a custom domain connected, that's the address the world uses.
- Keep improving: edit any time, preview, and publish again. Each publish swaps the live version for your latest draft — your audience always sees your best work.
From the video
Key moments
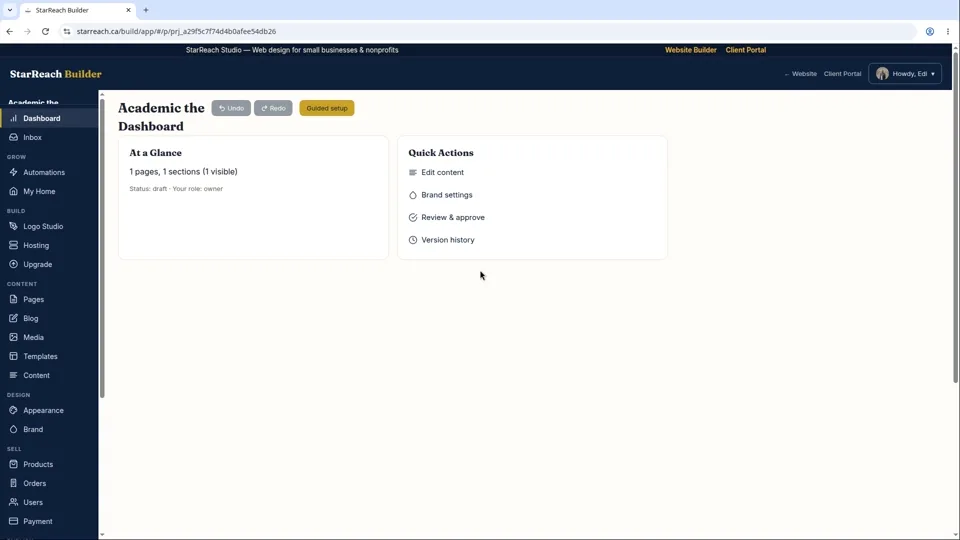
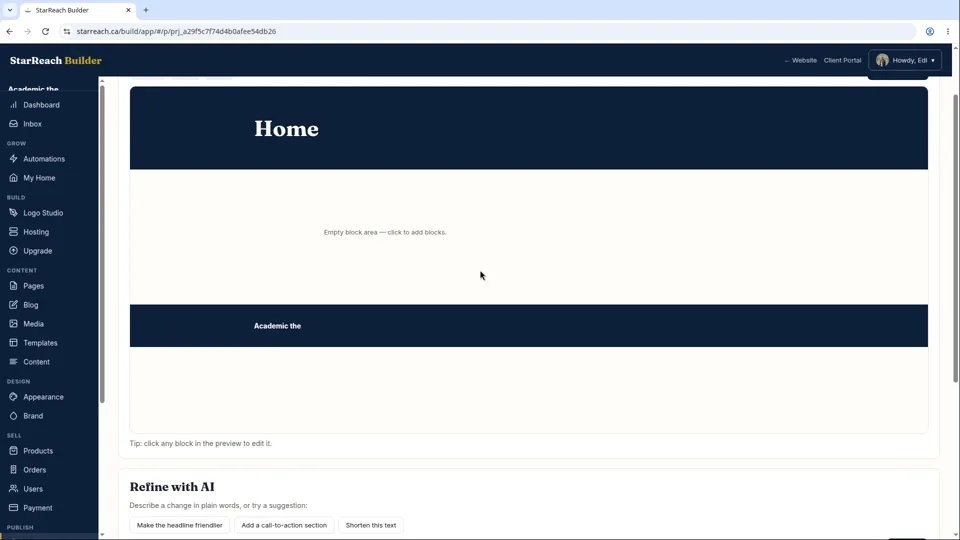
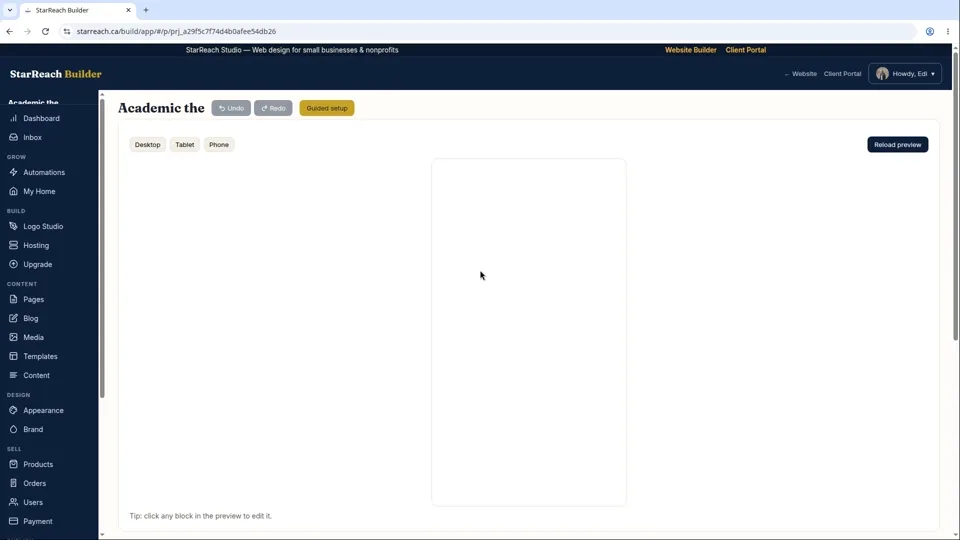
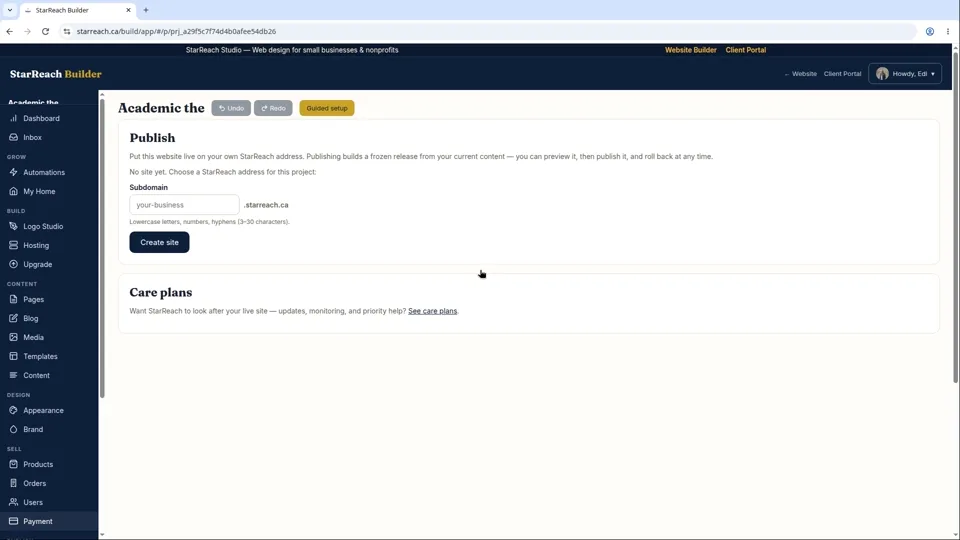
Read the full video transcript
Your site looks great. Now let's put it in front of the world.
Step one: preview. Click Preview and walk through every page like a visitor would. Then switch to the phone preview. I can't stress this enough — most of your visitors will meet you on a phone first. If it looks great at phone size, it looks great everywhere.
See something off? Fix it now. You're still on your draft. There's no rush and no risk.
Step two: publish. One click.
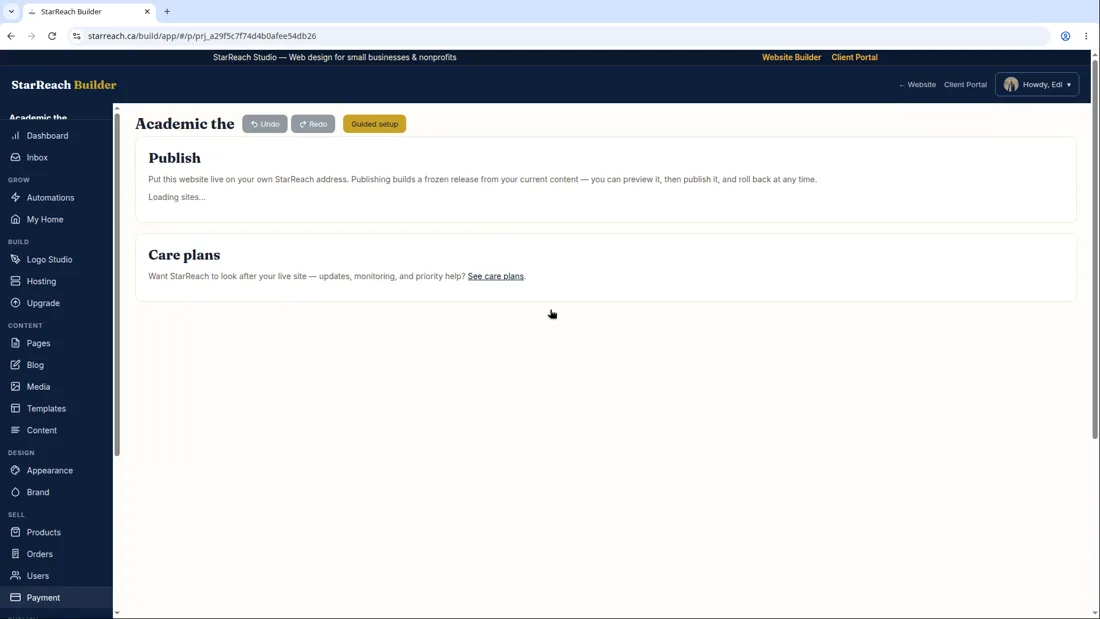
Here's what happens in the seconds after you click. We freeze your draft as a release — a perfect snapshot of this moment. Then we run an automatic health check across your whole site. Every page has to load. Everything has to work.
And here's the part we're proudest of: if anything fails that check, we roll back to your previous version automatically. Not “we email you about it.” Not “your site shows an error page.” We quietly put the last good version back, and your visitors never notice a thing. Publishing here is safe by design.
When the check passes, your site is live. During your trial, it lives at a temporary starreach.ca address — your own corner of our domain. Once you connect a custom domain, like yourbusiness.ca, that's the address the world uses instead.
And publishing isn't a one-time event. Next week, when you add new photos or update your services, you edit, preview, and publish again. Each publish swaps the live version for your latest draft.
So the rhythm is simple: edit, preview, publish. Your audience always sees your best work — and never your work in progress.
Written walkthrough
The whole lesson, in writing
Publishing in the current Builder is a small, careful ceremony: choose an address, build a release candidate, preview it like a stranger, then publish — with a health check and a rollback standing behind the button. Here is every click in order, written exactly as the screens show it, so the text alone can walk you through it.
- Open Publish. In your project’s workspace, Publish is one of the five actions along the bottom of the sidebar. The panel opens by telling you what publishing means here: “Publishing builds a frozen release from your current content — you can preview it, then publish it, and roll back at any time.” Keep that sentence in mind; every step below is just that sentence, carried out.
- Choose your StarReach address. The first time, the panel says “No site yet. Choose a StarReach address for this project:” Type a subdomain into the field — lowercase letters, numbers and hyphens, 3 to 30 characters — and it sits in front of .starreach.ca as your site’s home. Click Create site. Choose carefully and plainly: this is the address you will read out over the phone and print on cards. (On the Growth plan, the Domain card further down the same panel also offers Use my own domain, for an address you already own.)
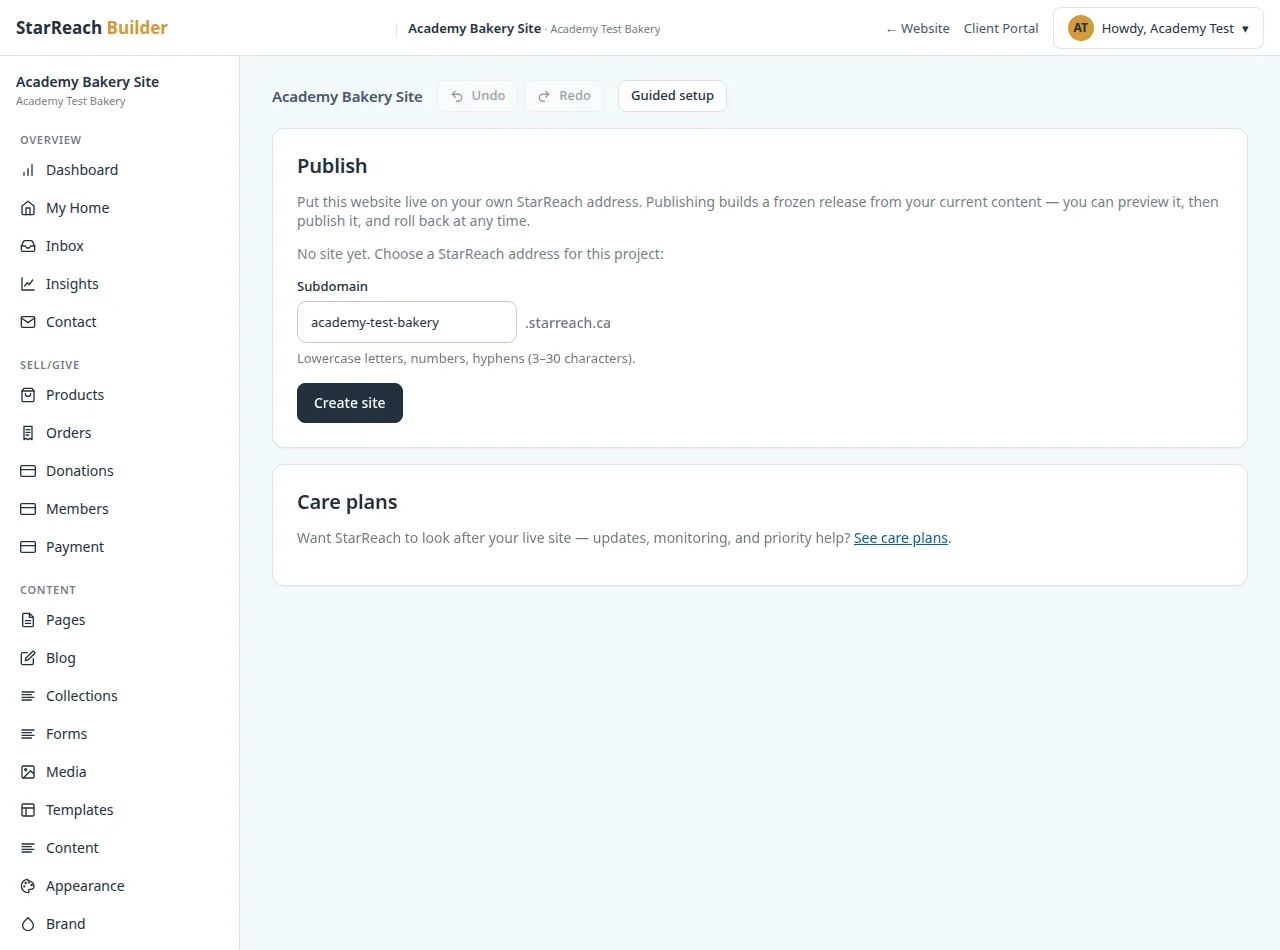
Step 2 — Choosing your site’s StarReach address in the Publish panel. - Build a release candidate. In the Releases card, click Build release candidate. The Builder freezes your current content into a versioned candidate; the card lists it with its date, a Draft marker, and its version number. A candidate is a snapshot, not a commitment: your live site — if you have one — is untouched, and you can keep editing the draft afterwards without disturbing it. Changes made after this point wait for the next candidate.
- Preview the candidate, not just your draft. Click Preview link on the candidate. You are handed a shareable link to exactly what will go live — valid for 7 days — so you can open it on your phone, or send it to a friend and ask what they see. Walk every page as a visitor: read the words fresh, tap every link, check the phone view hardest, because most visitors will meet you there first. Anything off? Fix it in the draft, then build a fresh candidate and preview again. This loop is free; use it.
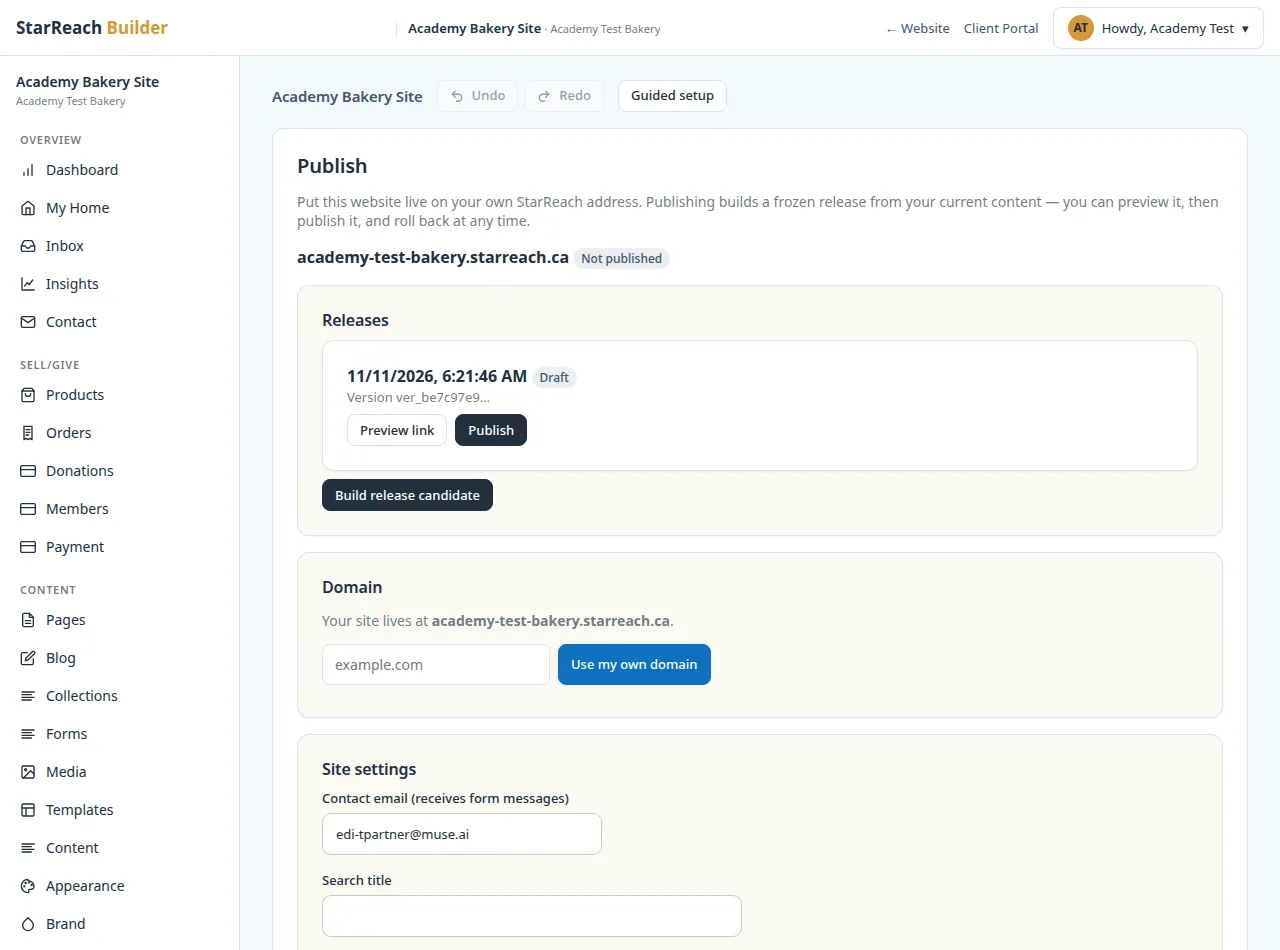
Step 4 — A release candidate waiting as a Draft, with its Preview link and Publish buttons. - Clear the two first-publish gates. The first time you publish, the Builder may stop you — politely, and only once. If you see “Please accept the hosting terms before your first publish”, follow the panel’s Review and accept the terms link, read the terms (they are short and written plainly) and accept them. The Builder also needs your project’s business details on file — a business name plus a contact email or phone — and it will tell you in plain words if they are missing. Neither gate returns on later publishes.
- Publish. Click Publish on the candidate. A confirmation appears: “Publish this release? It will go live at your address immediately. The previous version is kept for one-step rollback.” Click Publish in that dialog. The panel reports “Publishing and health-checking…” — the release is set live and then checked straight away: pages must load and links and images must resolve. If a check ever fails, the release is marked failed and your previous live version is put back automatically, so visitors never meet a broken site.
- See it live. When the check passes, the panel shows your address with a green Live marker and an Open live site link, and the release row itself reads Live. Open the site and look at it with fresh eyes — this, and not the editor, is what the world now sees. During a trial this published site is genuinely live at its StarReach address; it is not a preview or a placeholder.
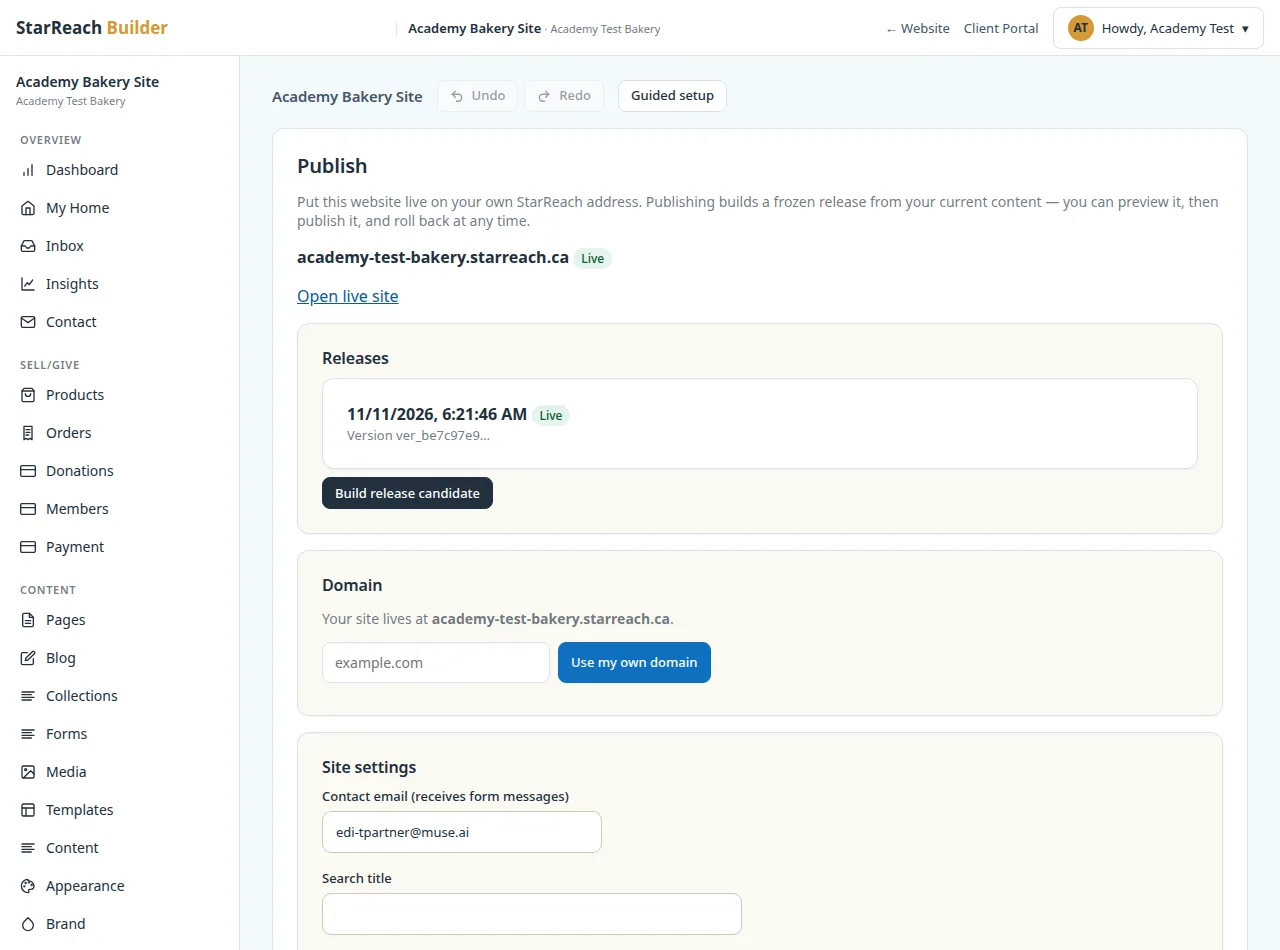
Step 7 — Published: the Live marker, the “Open live site” link, and the release now serving your visitors. - Publish again any time — and roll back if you must. Publishing is a rhythm, not an event: edit the draft, build a candidate, preview it, publish. Each publish replaces the live version, and the version it replaced stays in the Releases list carrying a Roll back to this button — one click returns your site to that earlier version, no support ticket required. There is no unpublish button; if the site must pause, the Site settings card in this same panel offers Maintenance mode, which shows visitors a “back soon” page while you work.
Edit, preview, publish — with a safety net under every step. That is the whole ceremony, and it never gets more complicated than that.
Try it now
Open the product and put this lesson into practice — it takes seconds.