
Academy › Website Builder › Lesson 6
~3 minIntermediateImages and brand controls
Uploading photos, using the media library, and making the whole site look like you with brand colors, fonts, and your logo.
Step by step
Follow along
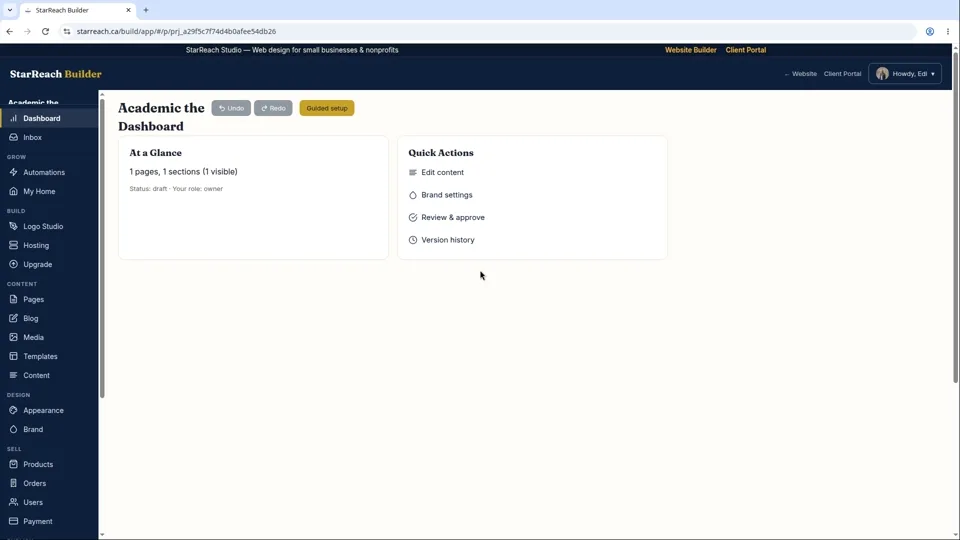
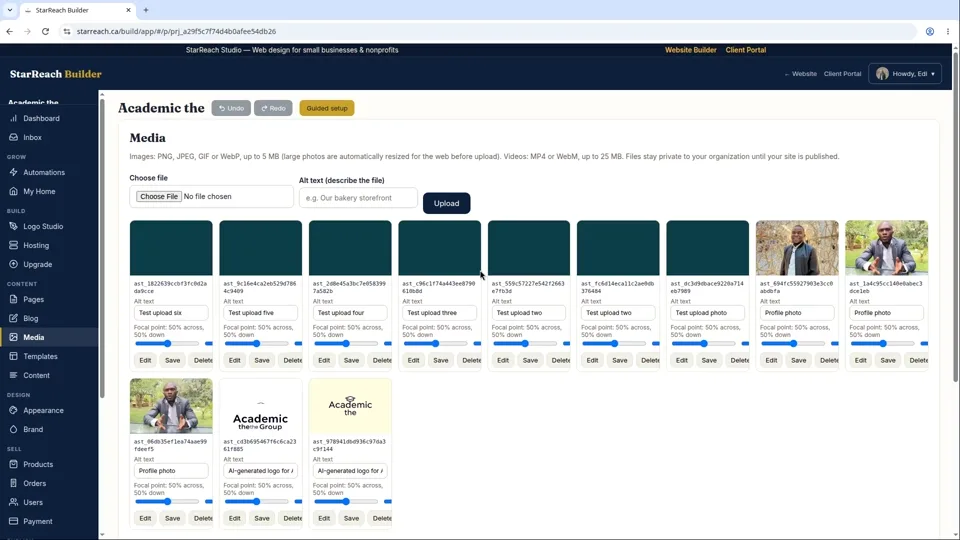
- Click any image in your site to open the media picker.
- To add new photos, upload them — JPG, PNG, or WebP all work. Whenever you can, use real photos of your business: your team, your work, your space. They outperform stock photos every time.
- Everything you upload lives in your media library, so you only upload once — reuse images anywhere on your site.
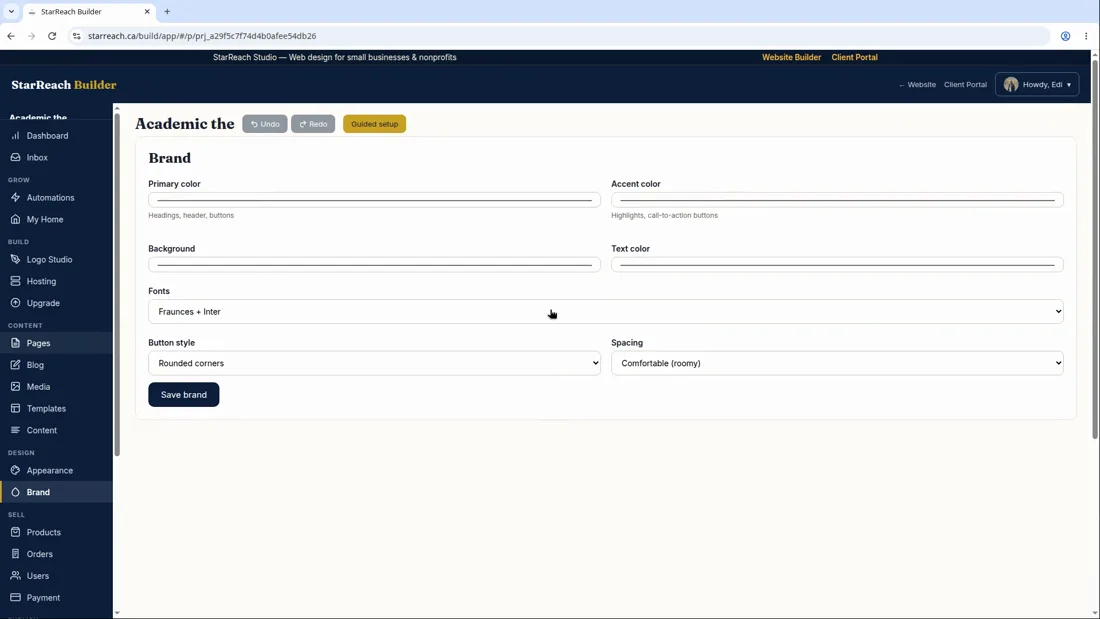
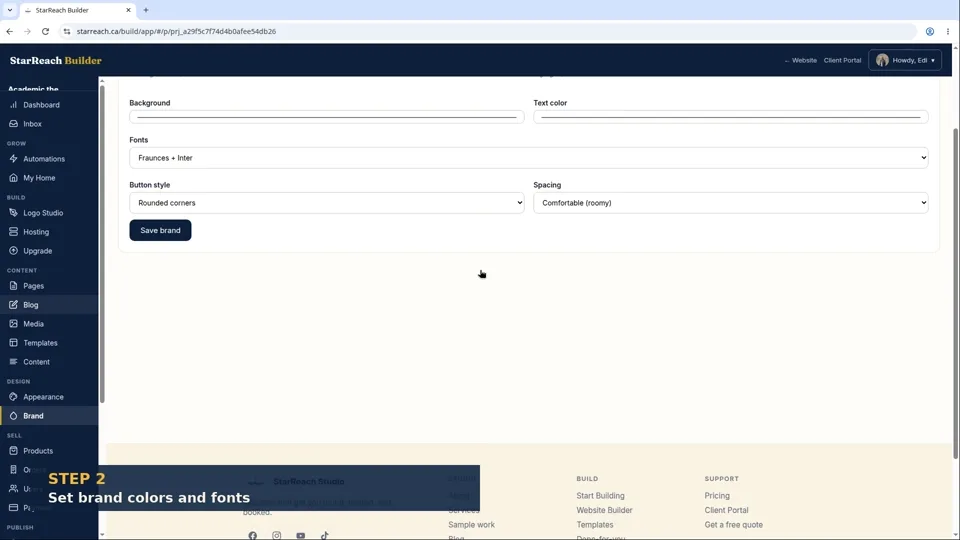
- Open Brand controls. This is mission control for your look: primary color, accent color, and fonts.
- Set your colors and fonts. They're applied site-wide instantly — every heading, button, and link updates at once. No hunting through pages.
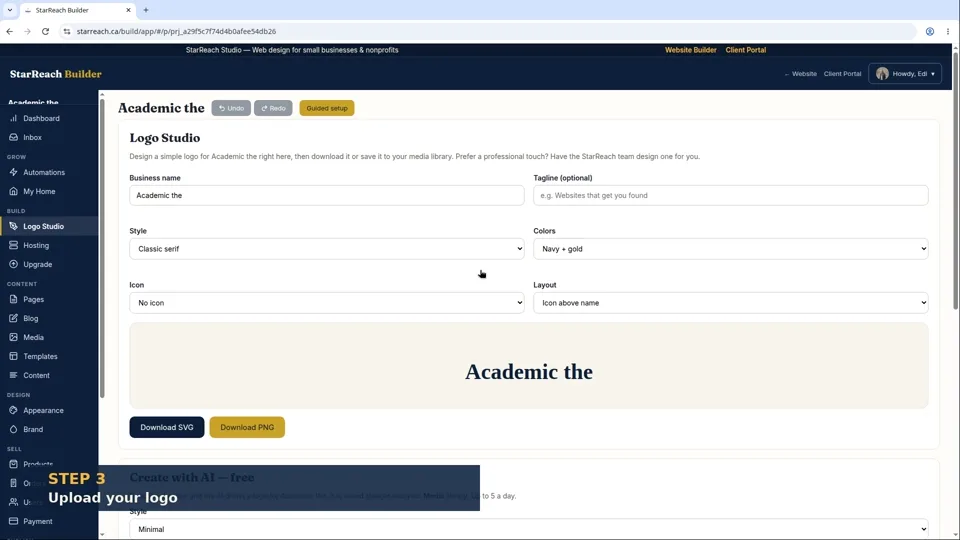
- Upload your logo. It appears in your site header and in the browser tab, so visitors always know whose site they're on.
- Preview your site to see the new look come together, then publish when you're happy.
In writing
The lesson in writing
Two things decide whether a site looks like a business or like a template: whose photos are on it, and whose colours. This lesson changes both. Start with images. Click any image on your site and the media picker opens; from there you can pick from your library or upload your own photo — JPG, PNG, or WebP all work. The advice from building a lot of small-business sites is simple: use real photos whenever you can. Your actual team, your actual work, your actual space. Visitors can tell stock photography on sight, and a real photo of your shop floor builds more trust than any polished substitute.
Everything you upload lives in your media library, and that changes how you work: upload once, use everywhere. The same photo can appear on your homepage, your about page, and your gallery without uploading it three times — and when you replace it in the library, you know exactly where it is used. A small habit pays off here: upload your best handful of real photos early, before you start polishing pages, so every section you build has honest material to draw on.
Then, brand controls — mission control for your look. Your primary colour, your accent colour, and your fonts live in one place, and they are applied site-wide the moment you set them: every heading, button, and link updates at once. There is no hunting through pages to make things match, because the match is structural. If you already have brand colours, use them. If not, choose one strong colour and one supporting colour and keep it simple — two colours used consistently beat five colours competing with each other, every time.
Finish with your logo. Upload it once and it appears in your site header and as the icon in the browser tab — the little mark people see when they have ten tabs open and are deciding which one was yours. It is a small thing that makes a site feel finished. Then do what you do after every visible change: preview the site as a whole, check a couple of pages rather than just the one you were editing, and publish when it feels like you.
Before you move on
- Upload three real photos of your business to the media library and place one of them on your homepage.
- Set your primary and accent colours in Brand controls, then preview two different pages to watch the change apply site-wide.
- Upload your logo and confirm it appears in the header and the browser tab.
Read the full video transcript
A website with the wrong photos and default colors looks like a template. A website with your photos and your colors looks like a business. This lesson is about making that switch.
Let's start with images. Click any image on your site and the media picker opens. See something you want to replace? Upload your own photo — JPG, PNG, or WebP, whatever you have.
One piece of advice, from building a lot of small business sites: use real photos whenever you can. Your actual team, your actual work, your actual space. Visitors can smell stock photography, and real photos build trust faster than anything else you can put on a page.
Everything you upload goes into your media library. Upload once, use it everywhere — the same photo can appear on your homepage, your about page, and your gallery without uploading three times.
Now the fun part: brand controls. Open them up. Here's your primary color, your accent color, your fonts. Change your primary color and watch — every heading, every button, every link across your entire site updates instantly. One change, everywhere. That's the power of doing it here instead of page by page.
Pick colors that feel like your business. If you have brand colors already, use them. If not, choose one strong color and one supporting color, and keep it simple. Two colors, used consistently, always beats five colors competing with each other.
Finally, upload your logo. It goes in your header and in the browser tab — that little icon people see when they have ten tabs open. It's a small thing that makes your site feel finished.
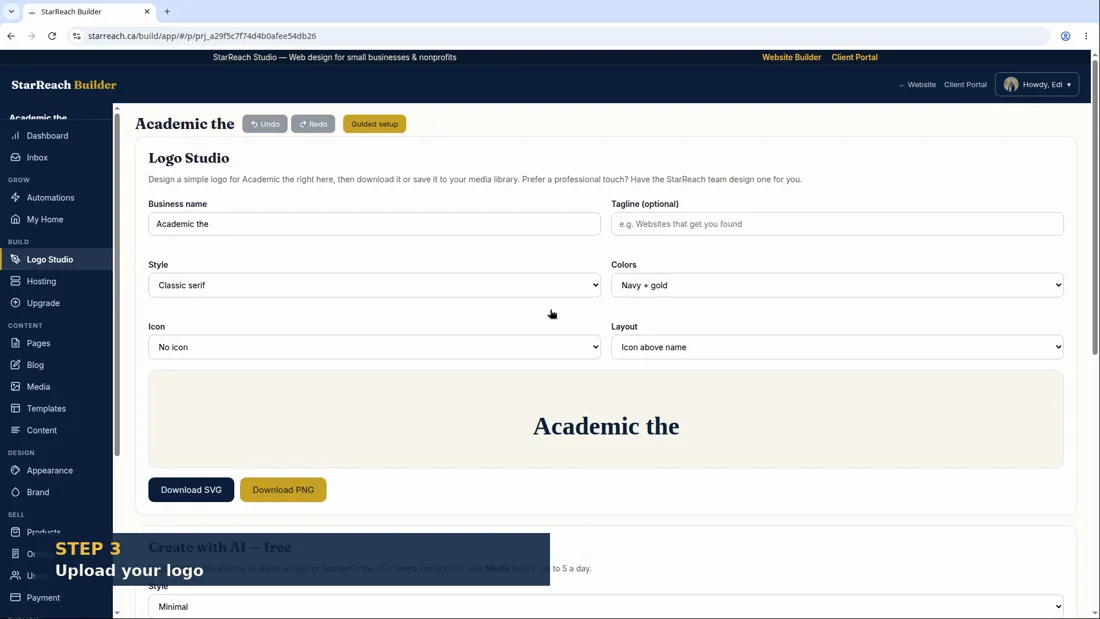
Preview it all together. When it feels like you, publish. That's branding done — in about three minutes.
Try it now
Open the product and put this lesson into practice — it takes seconds.